Matplotlib.pyplot.savefig() i Python
Matplotlib är ett mycket användbart visualiseringsbibliotek i Python. Det är ett multiplattformsdatavisualiseringsbibliotek byggt på NumPy-arrayer och designat för att fungera med den bredare SciPy-stacken. Visualisering spelar en mycket viktig roll eftersom den hjälper oss att förstå enorma databitar och extrahera kunskap.
Matplotlib.pyplot.savefig()
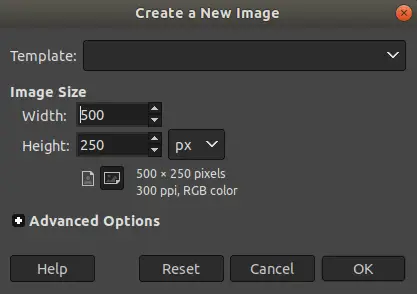
Som namnet antyder används savefig()-metoden för att spara figuren som skapades efter plottning data. Den skapade figuren kan sparas på våra lokala maskiner genom att använda denna metod.
Syntax: savefig(fname, dpi=Ingen, facecolor='w', edgecolor='w', orientation='portrait', papertype=Ingen, format=Ingen, transparent=False, bbox_inches=Ingen, pad_inches=0.1, frameon=Ingen, metadata=Inga)
Parametrar:
| PARAMETRAR | BESKRIVNING | ||
|---|---|---|---|
| fname | Filnamn .webp'code-block'>
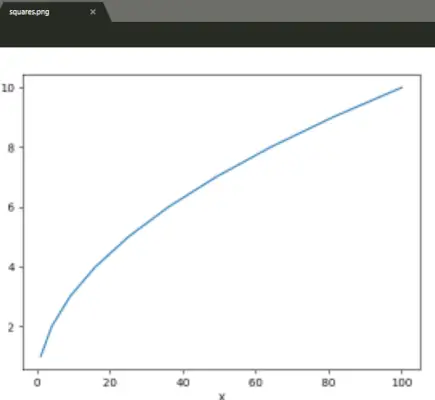
Utgång: Exempel 2:
Utgång: |