Matplotlib.pyplot.savefig() in Python
Matplotlib is een zeer nuttige visualisatiebibliotheek in Python. Het is een datavisualisatiebibliotheek met meerdere platforms, gebouwd op NumPy-arrays en ontworpen om te werken met de bredere SciPy-stack. Visualisatie speelt een zeer belangrijke rol omdat het ons helpt grote hoeveelheden gegevens te begrijpen en kennis te extraheren.
Matplotlib.pyplot.savefig()
Zoals de naam al doet vermoeden, wordt de methode savefig() gebruikt om het daarna gemaakte figuur op te slaan plotten gegevens. Het gemaakte figuur kan met behulp van deze methode op onze lokale machines worden opgeslagen.
Syntaxis: savefig(fname, dpi=Geen, facecolor='w', edgecolor='w', oriëntatie='portret', papertype=Geen, format=Geen, transparant=False, bbox_inches=Geen, pad_inches=0.1, frameon=Geen, metagegevens=Geen)
Parameters:
| PARAMETERS | BESCHRIJVING | ||
|---|---|---|---|
| fnaam | Bestandsnaam .webp'code-block'>
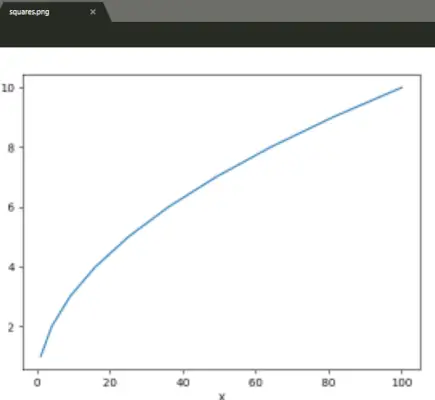
Uitgang: Voorbeeld 2:
Uitgang: |