Python での画像の操作

PIL は、Python インタープリターに画像編集機能を提供する Python イメージング ライブラリです。これは、Fredrik Lundh と他の数人の貢献者によって開発されました。 Pillow はフレンドリーな PIL フォークであり、Alex Clark と他の貢献者によって開発された使いやすいライブラリです。ピローと協力していきます。
インストール:
- Linux: Linux ターミナルで次のように入力します。
 pip install Pillow  ターミナル経由で pip をインストールします。   sudo apt-get update
sudo apt-get install python-pip - Windows: ダウンロード Python のバージョンに応じて適切な Pillow パッケージを選択します。使用している Python のバージョンに応じてダウンロードしてください。
ここでは、同じ名前のクラスを提供し、画像を操作するための多くの関数を提供する画像モジュールを使用します。画像モジュールをインポートするには、コードを次の行で始める必要があります。
from PIL import Image画像を使用した操作:
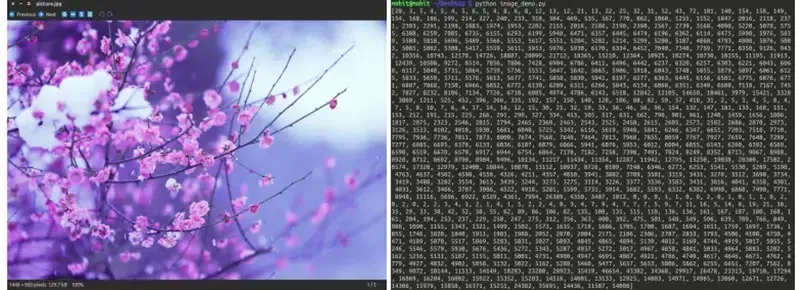
- パスから特定の画像を開きます。 Python
#img = Image.open(path) # On successful execution of this statement # an object of Image type is returned and stored in img variable) try : img = Image . open ( path ) except IOError : pass # Use the above statement within try block as it can # raise an IOError if file cannot be found # or image cannot be opened.
- 画像のサイズを取得する : 作成される Image クラスのインスタンスには多くの属性がありますが、その便利な属性の 1 つはサイズです。 Python
from PIL import Image filename = 'image.webp' with Image . open ( filename ) as image : width height = image . size #Image.size gives a 2-tuple and the width height can be obtained
- 画像の変更を保存します。 画像ファイルに加えた変更を保存するには、パスと画像形式を指定する必要があります。 Python
img . save ( path format ) # format is optional if no format is specified #it is determined from the filename extension
- 画像を回転する: 画像の回転には、画像を回転させるためのパラメータとして角度が必要です。 Python
from PIL import Image def main (): try : #Relative Path img = Image . open ( 'picture.webp' ) #Angle given img = img . rotate ( 180 ) #Saved in the same relative location img . save ( 'rotated_picture.webp' ) except IOError : pass if __name__ == '__main__' : main ()
 注: 回転メソッドの引数の 1 つとして使用できるオプションの拡張フラグがあり、これを true に設定すると、出力イメージが拡張されて、回転されたイメージ全体を保持できる十分な大きさになります。上記のコード スニペットに見られるように、画像が Python コード ファイルと同じディレクトリにある相対パスを使用しましたが、絶対パスも使用できます。
 - 画像のトリミング: Image.crop(box) は、4 タプル (左上、右下) のピクセル座標を受け取り、使用された画像から長方形の領域を返します。 Python
from PIL import Image def main (): try : #Relative Path img = Image . open ( 'picture.webp' ) width height = img . size area = ( 0 0 width / 2 height / 2 ) img = img . crop ( area ) #Saved in the same relative location img . save ( 'cropped_picture.webp' ) except IOError : pass if __name__ == '__main__' : main ()
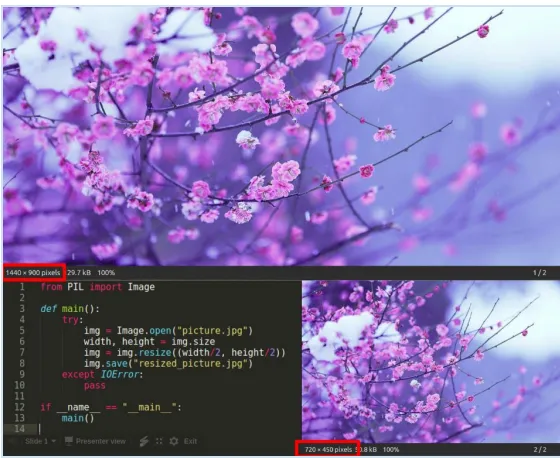
- 画像のサイズ変更: Image.resize(size) - ここでは、サイズは幅と高さの 2 つのタプルとして提供されます。 Python
from PIL import Image def main (): try : #Relative Path img = Image . open ( 'picture.webp' ) width height = img . size img = img . resize (( width / 2 height / 2 )) #Saved in the same relative location img . save ( 'resized_picture.webp' ) except IOError : pass if __name__ == '__main__' : main ()
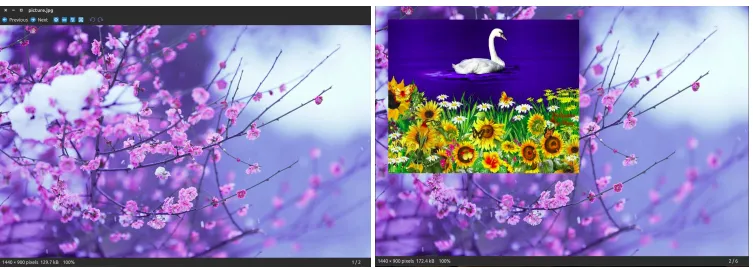
- 画像を別の画像に貼り付ける: 2 番目の引数は、2 タプル (左上隅を指定) または 4 タプル (左上、右下) にすることができます。この場合、貼り付けた画像のサイズは、このボックス領域のサイズと一致するか、(0 0) に相当する None にする必要があります。 Python
from PIL import Image def main (): try : #Relative Path #Image on which we want to paste img = Image . open ( 'picture.webp' ) #Relative Path #Image which we want to paste img2 = Image . open ( 'picture2.webp' ) img . paste ( img2 ( 50 50 )) #Saved in the same relative location img . save ( 'pasted_picture.webp' ) except IOError : pass if __name__ == '__main__' : main () ##An additional argument for an optional image mask image is also available.
- 画像のヒストグラムを取得する: これにより、画像のヒストグラムが、画像内のピクセルごとに 1 つずつピクセル数のリストとして返されます。 (画像のヒストグラムは、デジタル画像の色調分布をグラフで表現したものです。これには、画像に含まれるすべての輝度値が含まれています。各輝度値のピクセル数がプロットされます。露出設定を行うのに役立ちます。) from PIL import Image Python
def main (): try : #Relative Path img = Image . open ( 'picture.webp' ) #Getting histogram of image print img . histogram () except IOError : pass if __name__ == '__main__' : main ()
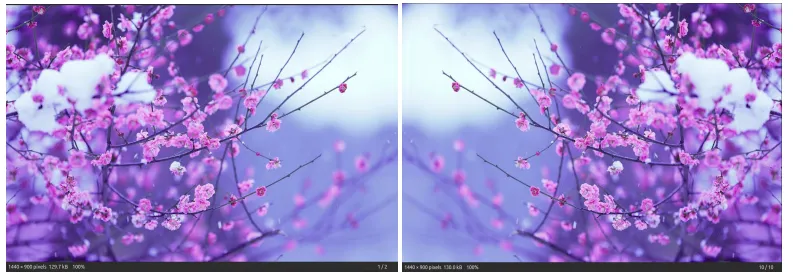
- 画像を置き換える: この機能により、画像の鏡像が得られます。 Python
from PIL import Image def main (): try : #Relative Path img = Image . open ( 'picture.webp' ) #transposing image transposed_img = img . transpose ( Image . FLIP_LEFT_RIGHT ) #Save transposed image transposed_img . save ( 'transposed.webp' ) except IOError : pass if __name__ == '__main__' : main ()
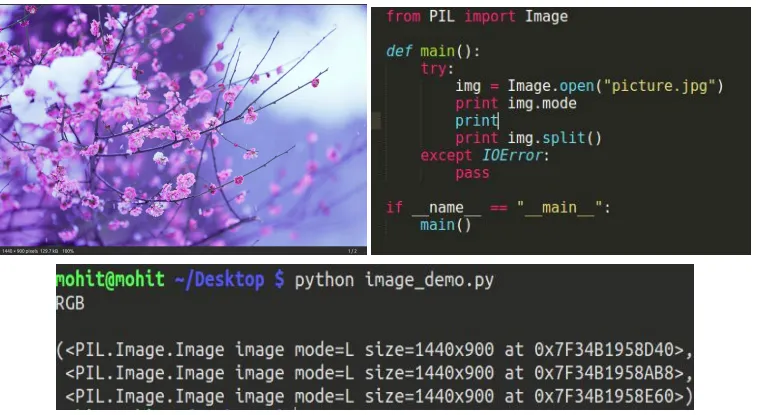
- 画像を個々のバンドに分割します。 RGB モードでイメージを分割すると、それぞれに元の個々のバンドのコピーを含む 3 つの新しいイメージが作成されます。 Python
from PIL import Image def main (): try : #Relative Path img = Image . open ( 'picture.webp' ) #splitting the image print img . split () except IOError : pass if __name__ == '__main__' : main ()
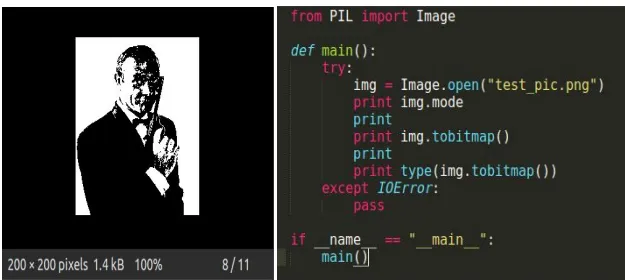
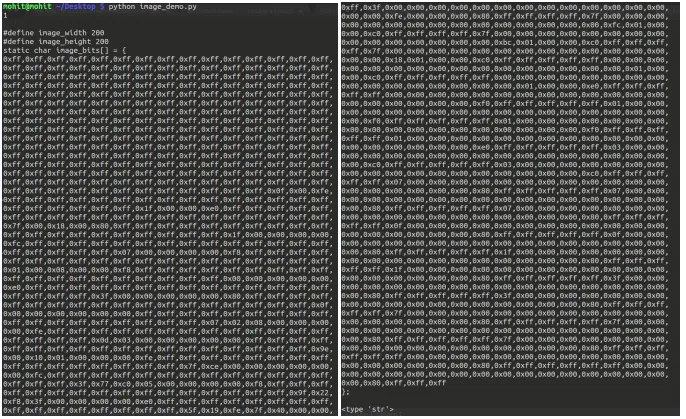
- トビットマップ: 画像を X11 ビットマップ (プレーン テキスト バイナリ イメージ形式) に変換します。 X11 ビットマップを含む文字列を返します。モード 1 イメージ、つまり 1 ビット ピクセルの白黒イメージにのみ使用できます。 PILインポート画像から Python
def main (): try : #Relative Path img = Image . open ( 'picture.webp' ) print img . mode #converting image to bitmap print img . tobitmap () print type ( img . tobitmap ()) except IOError : pass if __name__ == '__main__' : main ()
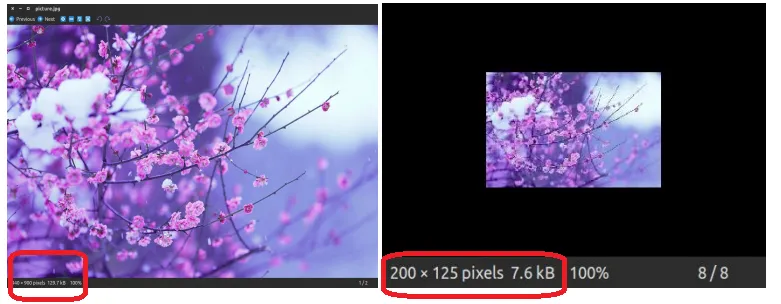
- サムネイルの作成: このメソッドは、開かれた画像のサムネイルを作成します。現在開かれている画像オブジェクト自体にインプレース変更を加えた新しい画像オブジェクトは返しません。元の画像オブジェクトを変更したくない場合は、コピーを作成してからこのメソッドを適用します。このメソッドは、渡されたサイズに応じて画像のアスペクト比を維持するのが適切かどうかも評価します。 PILインポート画像から Python
def main (): try : #Relative Path img = Image . open ( 'picture.webp' ) #In-place modification img . thumbnail (( 200 200 )) img . save ( 'thumb.webp' ) except IOError : pass if __name__ == '__main__' : main ()